Quick answer (TLDR)
A free throw in NBA 2K27 is the most forgiving green in the game — there is no defender, no fatigue and no contest, so the only thing between you and 100% is your timing. Release inside the green window and the ball goes in every single time; miss it by a few milliseconds and you brick. To make free throws automatic:
- Learn one animation and never switch it. The "best" free throw is the one with a large, repeatable timing window that you shoot the same way every trip to the line — not the flashiest one.
- Use a high Free Throw rating. A higher FT attribute makes your green window more forgiving, so the same timing input is easier to hit.
- Shoot on "Timing" (not real-player %), aim for the top of the shot bar, and keep your Release Speed on Normal for the widest possible window.
- Rhythm Shooting works at the line if you prefer a physical feel over button timing — same green rules apply.
Everything below is the full breakdown: how the free-throw green window actually works, which animations give you the biggest margin for error, Rhythm vs button timing, and the exact settings to lock in.
How does the free-throw green window work in NBA 2K27?
Free-throw shooting in 2K27 runs on the same core mechanic as your jumpshot: a green window. This is a hard timing threshold, not a probability roll. As shooting-data site NBA2KLab puts it in their 2K27 shooting breakdown:
"Release inside it and the ball goes in, every single time."
That window is tiny. NBA2KLab's frame-by-frame testing puts a typical pure green window at roughly 15–20 milliseconds — about one-fiftieth of a second. Hit it and it's an automatic make; land a hair early or late and you get a "slightly early / slightly late" miss.
Here's why free throws are the easiest place in the game to master that window: at the line there is no closeout, no contest, no stamina drain and no shot coverage to shrink your margin. The window you get in practice is the exact window you get in a game. Your jumpshot's green can be squeezed by a defender's hand in your face; your free throw's never is. That's what makes the free-throw line the single best place to learn your timing — and the least excusable place to miss it.
Three things set how wide your free-throw green window is:
- Your Free Throw rating. A higher FT attribute makes the window more forgiving — the same way a higher shooting attribute widens your jumpshot's green. An 80 FT rating shoots a noticeably more forgiving free throw than a 60 (NBA2KLab runs its animation tests at a fixed 80 FT rating for exactly this reason), and a maxed rating is more forgiving still. This is the biggest single lever you control.
- The animation you pick. Different free-throw animations have different natural window sizes and different release points — some are simply easier to time than others (more on this below).
- Your Release Speed setting. Slower release = slightly bigger window; faster = smaller. At the line, where nobody is contesting you, there is no reason to run a quick release.
What is the best free throw animation in NBA 2K27?
Short version: the best free-throw animation is the one you can repeat identically every single time — with a large green window and a clear, consistent release point. The mistake most players make is chasing a "meta" animation off a highlight clip. At the free-throw line, aesthetics are worthless; repeatability is everything.
Community-favourite free-throw animations that players consistently praise for a big, easy-to-time window include real-player releases from historically elite free-throw shooters — the kind of smooth, slow, rhythmic motions that give your eye more time to catch the release point. Names that come up again and again in the 2K27 free-throw discussion on r/NBA2k include Rick Barry (the classic underhand "granny" free throw, prized for one of the largest, slowest windows in the game), plus clean set-shot releases modelled on shooters like Rip Hamilton, Devin Booker, Kevin Durant and Larry Bird. These are community-reported favourites, not an official tier list — 2K does not publish free-throw window data.
How to actually pick yours, instead of copying a stranger:
- Go to MyCOURT → Free Throw practice (this is exactly where NBA2KLab runs its own animation tests). Set the difficulty you actually play on.
- Try 3–4 candidate animations, 20 free throws each. Ignore how they look. Count greens.
- Keep the one you greened the most — even if it's "ugly." The Rick Barry underhand is not pretty; it also has one of the widest windows in the game, which is exactly why serious free-throw shooters use it.
- Never switch again. Muscle memory at the line is built from thousands of identical reps. Every time you change animations you reset that memory to zero.
The single biggest free-throw upgrade is not the animation at all — it's committing to one and shooting it the same way every trip.
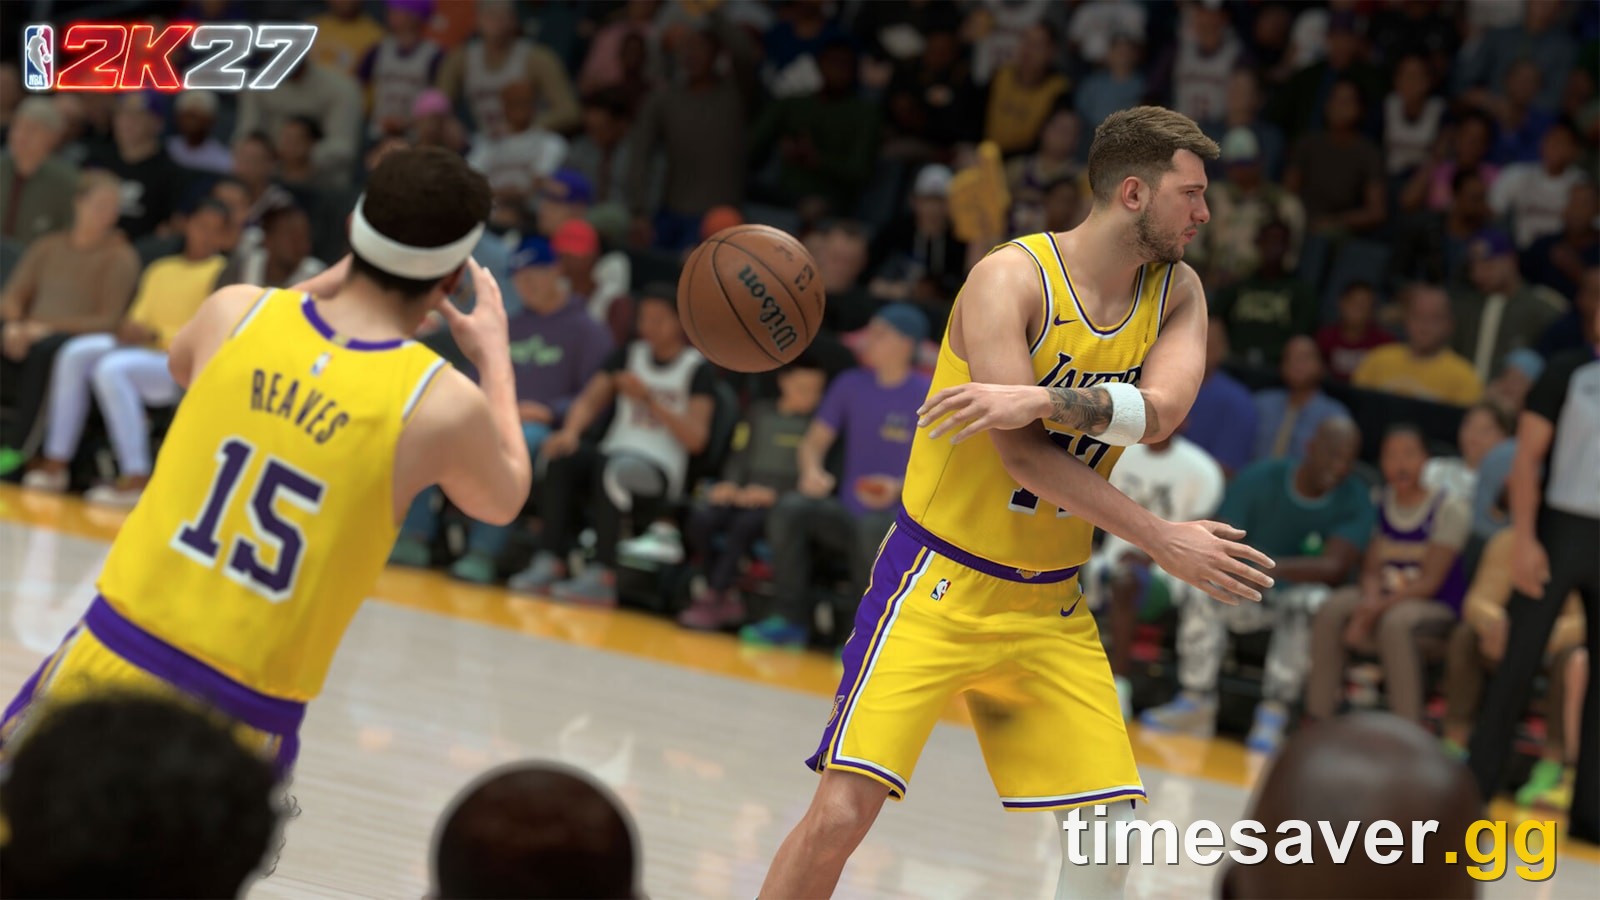
NBA 2K27 free throw settings: what to set and why
Get these settings right once and your free-throw percentage jumps before you've practised a single rep.
- Shot Timing: Timing (green window), not "Real Player %." If free throws are set to shoot on real-player percentage, you are handing the outcome to a dice roll based on the rating instead of controlling it. Put free throws on user timing so a green is a guaranteed make.
- Shot Meter: on while learning. Whether or not you run a meter on your jumpshot, keep a meter on for free throws until your timing is locked. The line is the safest place to train your eye, and there is no defender to hide the meter from.
- Aim for the top of the bar / the marked release point. Green is a point, not a zone — aim for the centre of it, not the edge, so a small error in either direction still lands inside the window.
- Release Speed: Normal. This is the one setting people get wrong. On your jumpshot, a quick release helps you beat a closeout — but it costs you green window. There is no closeout at the free-throw line, so pay nothing for speed you don't need.
On that last point, 2K finally quantified the trade-off for the first time in 2K27. Gameplay director Mike Wang published the exact window cost of each Release Speed setting (via NBA2KLab's shooting page, as stated 29 August 2026):
- Very Quick: −10% green window
- Quick: −5% green window
- Normal: no change
- Slow / Very Slow: a small boost to window size
NBA2KLab independently verified this with an automated rig that holds and releases the shot button for a fixed number of milliseconds — 4,500 test shots, 100 per cell, stepping through the window in 5ms increments — and confirmed a faster release genuinely eats into your window, costing roughly 8–12% at the quick end. Translation for the free-throw line: leave Release Speed on Normal (or slower) and you keep the biggest window the animation allows.
Rhythm Shooting vs button timing at the free-throw line
2K27's Rhythm Shooting — the Pro Stick "pull down, flick up in rhythm with the animation" mechanic — is available for free throws, not just jumpshots. In fact, 2K's official gameplay breakdown calls this out as a 2K27 addition: "Rhythm Shooting has officially expanded to the free-throw line, making the transition seamless for players who shoot with the Pro Stick" (nba.2k.com gameplay features). Whichever input you use, the rule is the same — per 2K, "successfully hitting a shot with Rhythm Shooting strictly requires greening the Timing." So which should you use at the line?
- Button timing (hold and release): the classic method. Easiest to learn, most consistent for most players, and the free-throw line is the ideal place for it because there's no pressure to release early. If you're new or just want reliable free throws, use this.
- Rhythm Shooting (Pro Stick): a more physical, feel-based input. Some players green more with it because matching the animation's rhythm is more intuitive than watching a bar. The green rules are identical — 2K states Rhythm Shooting "strictly requires greening the Timing," so you're still hitting the same window; you're just triggering it with the stick instead of a button.
There is no "correct" answer — both hit the same green window. Pick the one you green more with in MyCOURT practice and, again, do not keep switching. Consistency beats theory at the line.
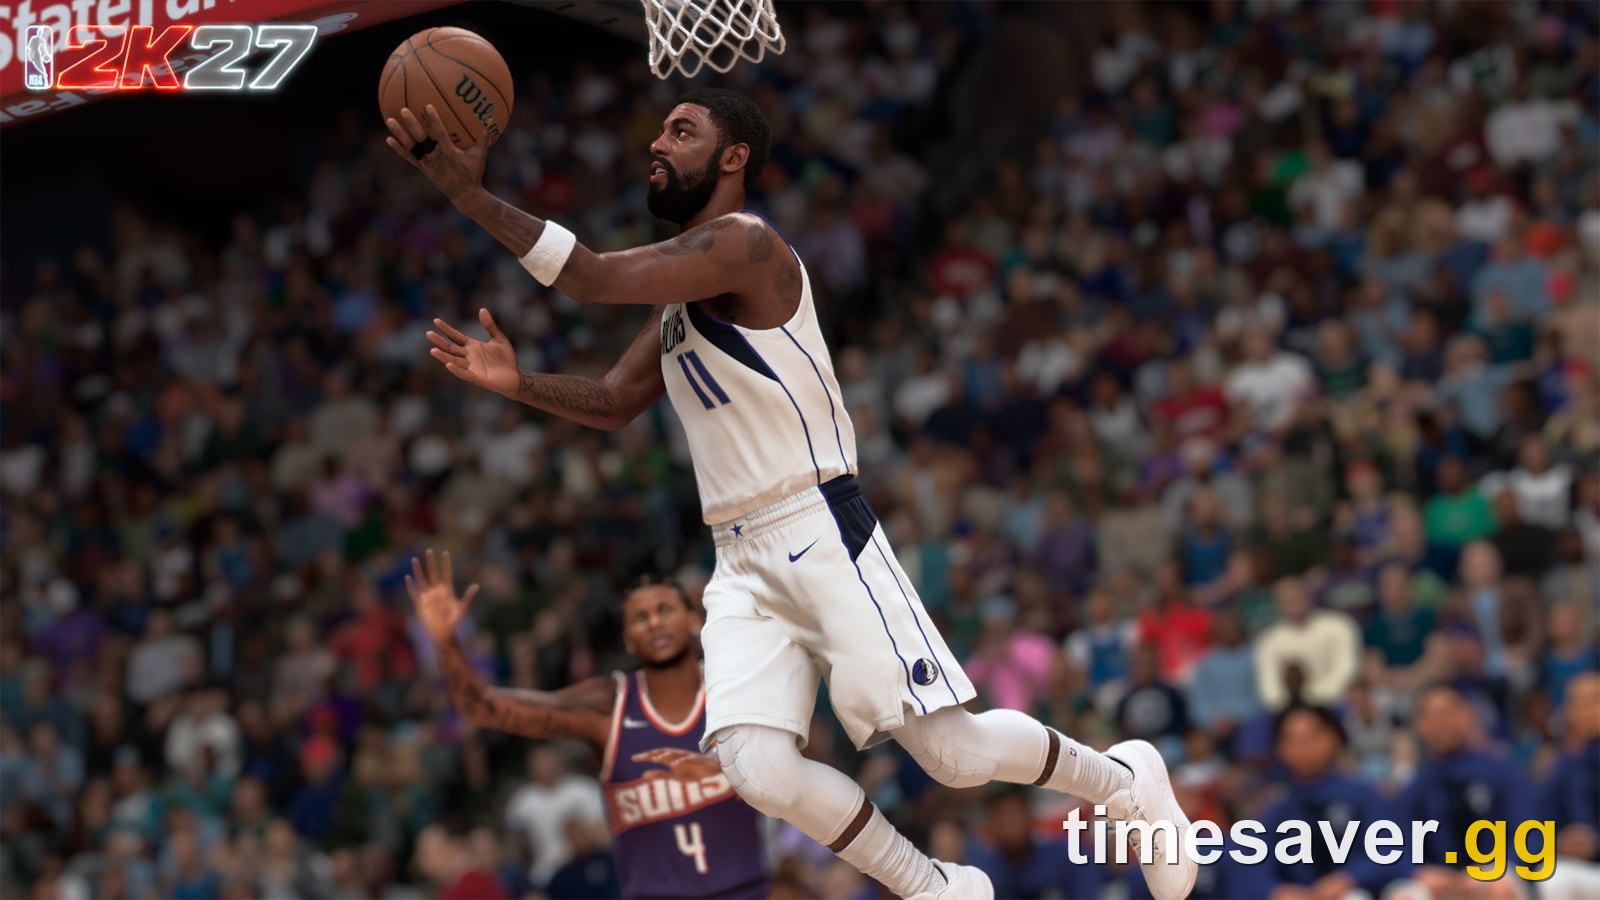
Why are my free throws still missing? (common mistakes)
If you're bricking free throws despite a decent FT rating, it's almost always one of these:
- You changed animations. Every switch resets your muscle memory. Lock one in.
- You're on Real Player %. You think you're timing them; the game is rolling dice. Switch free throws to user timing.
- You aim for the edge of the window, not the centre. Green is a threshold; centre your release so small errors still land inside it.
- You run a Quick or Very Quick release out of habit from your jumpshot. That's −5% to −10% window for zero benefit at the line. Set it to Normal.
- You rush. There's no shot clock pressure on a free throw. Take the full beat, find your rhythm, then release.
Fix those five and your free-throw percentage climbs fast — no rating grind required.
FAQ
What is the best free throw animation in NBA 2K27? There is no single official "best" — 2K does not publish free-throw window data. The best animation is the one with a large, repeatable green window that you can shoot identically every time. Community favourites for a big, forgiving window include the Rick Barry underhand release and clean set-shots modelled on elite real-life free-throw shooters. Test 3–4 in MyCOURT free-throw practice, keep whichever you green the most, and never switch.
How do you green a free throw in NBA 2K27? Shoot free throws on user Timing (not Real Player %), aim for the centre of your shot meter's release point, and release inside the green window — a hard threshold of roughly 15–20 milliseconds. Land inside it and the shot goes in every time. A higher Free Throw rating and a slower Release Speed both widen that window.
Does Release Speed affect free throws? Yes. Per gameplay director Mike Wang (29 August 2026), Very Quick costs about 10% of your green window and Quick about 5%, while Normal is neutral and slower speeds give a small boost. Because there's no defender to beat at the line, keep Release Speed on Normal (or slower) for the widest window.
Should I use Rhythm Shooting or button timing for free throws? Both hit the exact same green window, so it comes down to feel. Button timing is easier to learn and most consistent for most players; Rhythm Shooting — which 2K expanded to the free-throw line in 2K27 — suits players who green better matching the animation's rhythm with the Pro Stick. Pick one in practice and stick with it.
Does a higher Free Throw rating make free throws easier? Yes. A higher FT rating makes your green window more forgiving — the same timing input is easier to hit, just as a higher shooting attribute helps your jumpshot. It's the single biggest lever you control after committing to one animation.
Why do I keep missing free throws even with a good shooter? The usual culprits: you're on Real Player % instead of user timing, you keep switching animations, you run a quick release out of jumpshot habit, or you aim for the edge of the window instead of its centre. Fix those and free throws become automatic.
Master the rest of your shot
Free throws are the easiest green in the game — but the same timing skill carries everywhere on the floor. Keep sharpening your shot:
- How to green your jumpshot in NBA 2K27 — the full green-window breakdown for shots off the dribble and off the catch.
- Best jumpshot in NBA 2K27 — how to build a jumper with a large, repeatable window.
- How to dunk in NBA 2K27 — finishing at the rim, from standing dunks to contact animations.
- MyPLAYER builder & badge tokens explained — where your Free Throw rating and shooting badges come from.
More NBA 2K27 guides, builds and mechanics breakdowns are on the timesaver.gg blog.